

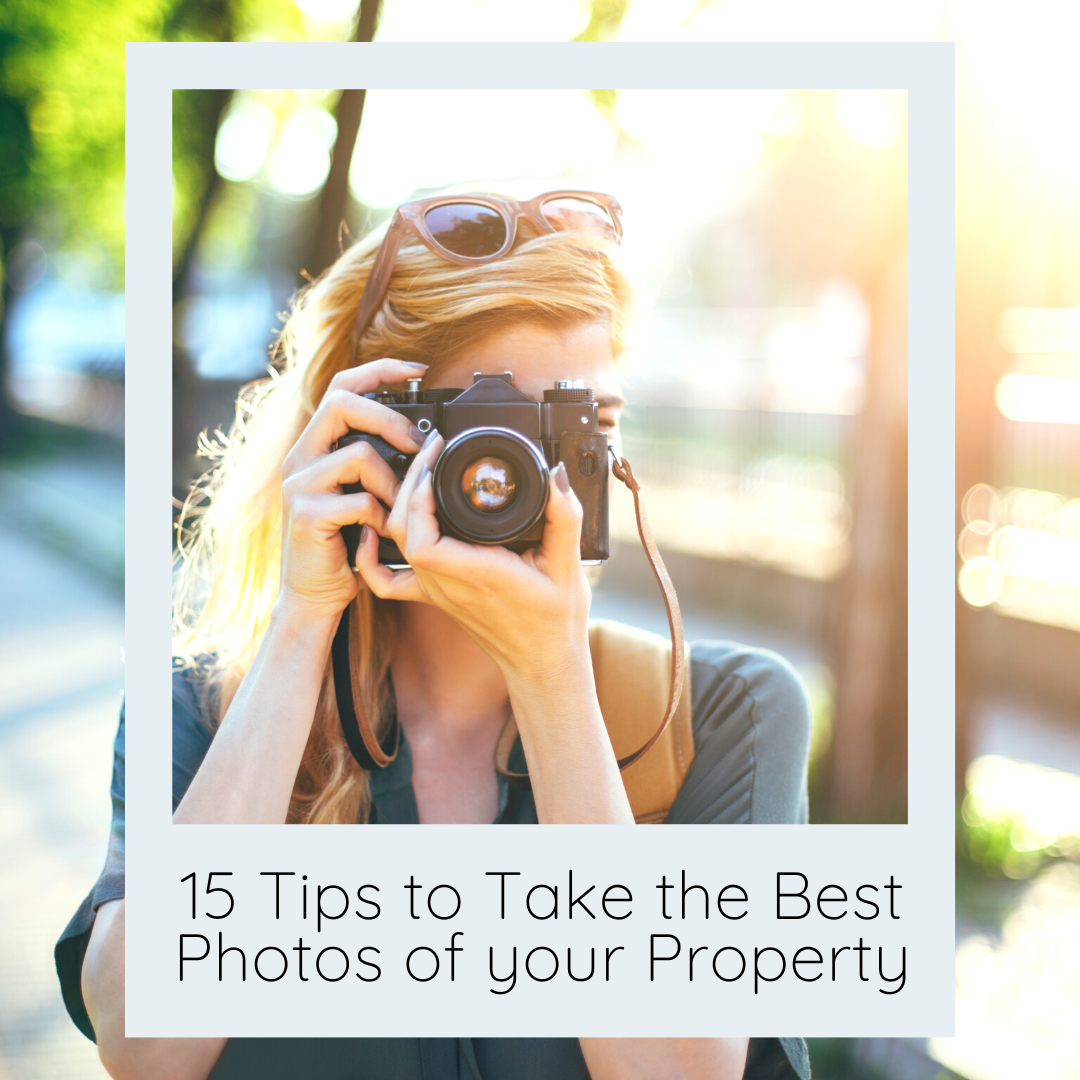
In the digital age, photos are the best way to make a dazzling first impression. Apartment photography is one of your key tools when trying to attract prospective tenants; in fact, renter surveys show that listings with images get far more views. Learning to craft excellent pictures of your property can help your listing stand out and ultimately get you the leads you’re looking for.
Many people believe that capturing the soul of an apartment through photography is a straightforward commitment. Mastering the art of creating attractive apartment images, on the other hand, needs meticulous consideration and attention to detail. In this article on how to take apartment photos, we will look at the strategies and tips that will help you capture the actual beauty of a living environment with your camera.
If you’ve never shot photos for a rental before, don’t panic. We have the guide to getting the best professional-grade snapshots of your property! Let’s talk about what it takes to get the perfect pictures.
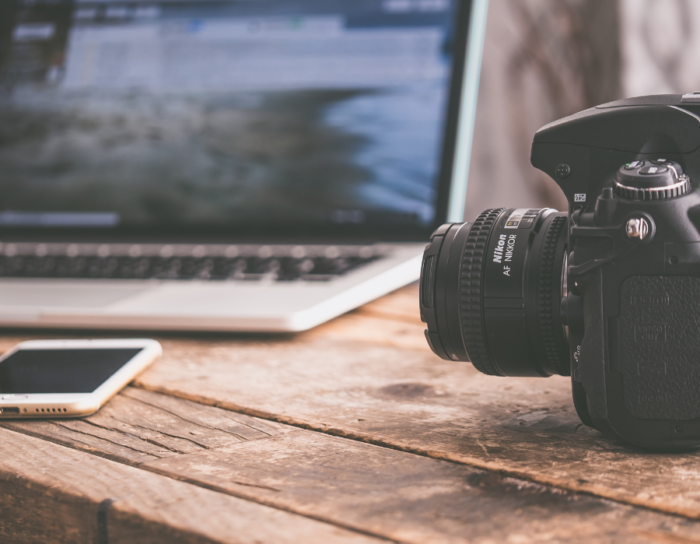
1 – Choose your Camera Wisely
Great news—you don’t necessarily need a high-end camera to capture amazing shots.
With smartphone cameras getting more and more advanced, the solution to new property photos may just be sitting in your pocket. On the off chance you’re not a smartphone owner (or are simply interested in taking guaranteed-crisp photos), renting or investing in a DSLR or mirrorless camera is always a good option. Just know that you don’t have to wait for your next paycheck to begin taking some stunning photos of your property.
Regardless of what kind of camera you choose, don’t forget to clean your lens. There’s nothing worse than gorgeous pictures marred by a smudge or thin layer of dust
2 – Determine the Best Time to Take Your Photos
After you have your camera, you’ll want to determine when to take your photos. The best time to shoot actually depends on which way the apartment (and the model unit) faces. You’ll want the sun to be behind the camera so that the property can be illuminated.
Outdoor/exterior shots are best taken at dusk. Avoid cloudy, rainy, or overcast days, as they can make photos appear overexposed. Use the golden hour, which happens during the first hour after dawn or the final hour before sunset. During this period, the soft, warm light gives a gorgeous sheen to your images and enhances the whole ambiance.
The best time to take indoor shots varies a lot based on the units and their features. Consider the layout of your apartment. North-facing apartments receive more even lighting throughout the day, and south-facing apartments may receive direct sunlight, resulting in colorful and dynamic images.
Experiment with different times of day to get the optimal lighting that suits the particular qualities of your residence. Photographing a comfortable reading nook with mild morning light streaming in through the window, for example, might convey a sense of calm, while photographing a city vista at dusk can create a wonderful atmosphere.
Understanding how to take photos of apartments with timing in mind allows you to elevate your shots to convey the ideal mood and present the room in its best light.
3 – Let the Sun Shine In
Spring and summer are the most popular times to do a property photo shoot, and for good reason! Not only does warmer weather make the experience more comfortable for the photographer, but the pictures improve ten-fold as well.
This makes sense, as when it comes to property photography (especially indoors), nothing beats natural sunlight. Plan to take photos in the daytime AND turn on the lights. Brighter spaces tend to make an area look bigger on film.
If possible, avoid solely relying on artificial lights to provide brightness and atmosphere and forgo flash photography when you can.
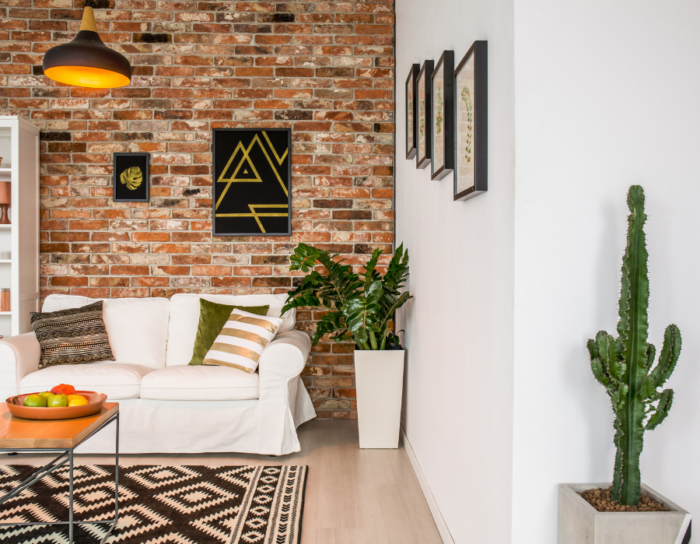
4 – De-Clutter and De-Wrinkle
When it comes to taking good property photos, presentation plays an important role. Begin by clearing the area, removing personal objects, and cleaning up any visible mess. Clean surfaces, carefully arranged furniture, and strategically placed decorative items can all contribute to a welcoming environment.
To guarantee a professional appearance, pay attention to details like de-wrinkling drapes, smoothing out bedding, and fluffing pillows. Try adding a touch of elegance to the dinner table by using a simple centerpiece and nicely folded napkins. You’ll get more interest from potential renters when you’re smart about how you present the apartment.
If at all possible, be sure to set the scene. A little bit of staging can go a long way. Leaving prospects wondering if their queen-size bed or exercise equipment will be able to fit through the building’s elevator or stairwell doesn’t bode well for generating interest. Strategically arranging proportional and well-spaced furniture will help tenants visualize their own belongings in the space.
5 – Add a Special Touch
The little things matter! The photos you take will inspire prospective tenants to imagine themselves living comfortably in your apartment complex, so make sure there isn’t anything around that will hinder the fantasy. Be sure there isn’t clutter and invest in some cozy decor. Focus on the little things to make the picture come together. Consider including:
- Fresh flowers
- A cozy rug
- Pet beds and accessories
- Sophisticated neutral colors
6 – Consider Symmetry
Let’s discuss “The Rule of Thirds”. It’s one of the main principles of photography, and one of the first things you come to understand when learning about professional design. In a nutshell, the central focal point of a photo should fall smack-dab in the middle of 2 equally spaced vertical and horizontal lines. An easy way to visualize this principle is to take a look at your picture and imagine 9 imaginary, equal parts— does your focus fall in the center?
In the rule of thirds, the eye is drawn most to where those thirds intersect, so pay attention to where that lands in your photo.
Experiment by comparing a centered subject vs. one that falls on a third. We bet you’ll be drawn to a more centered, balanced photo; symmetry is often preferred on a psychological level when determining visual interest. However, balanced asymmetry can be just as effective by creating energy within the frame.
Play around and see what works best for your space and the vibe you are going for. Don’t forget, you can always crop a photo during the editing phase to ensure your focal point stands out.
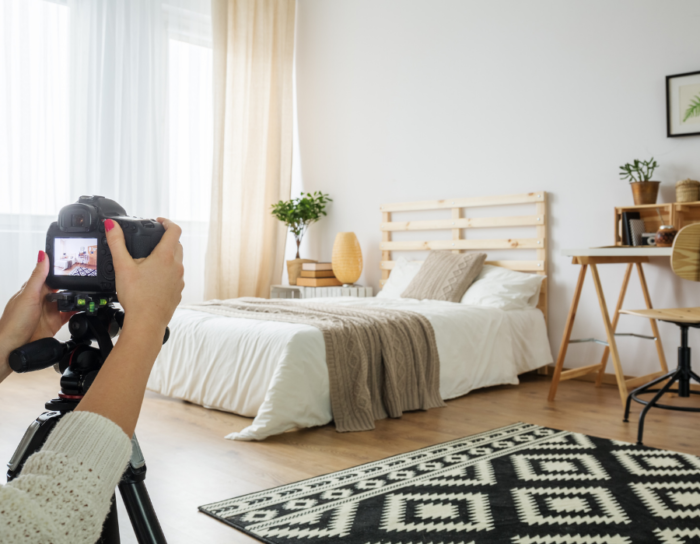
7 – Same Shot, Many Angles
A wide-angle lens is your best bet. They can capture more of the room than a regular, zoom lens.
When shooting pictures for apartments, begin by taking wide-angle photographs from the corners of each room, since this can capture the entire space and give a sense of how open it is. Experiment with heights like squatting or standing on a stool to draw attention to unusual characteristics such as high ceilings or delicate architectural elements.
Consider photographing a bedroom from the foot of the bed, a corner to highlight the layout, and a close-up of any distinguishing aspects, like a decorated headboard or a nice reading nook. By changing your viewpoints, potential renters can imagine themselves in the apartment and get a better idea of its layout and appeal.
Shooting in a corner or from a doorway provides a realistic perspective of your space. Doing this will add scale and dimensionality to your image while photographing a blank wall head-on can often make the space feel cramped. When capturing the whole space, try to keep the camera at the ideal height of 4-5 feet, and you should be good to go!
8 – Avoid Blurry Photos
The best way to avoid blurry images is to keep the photos straight and consistent. If you have any trouble maintaining a steady shot, consider using a tripod.
If you’re really in a pinch, a stack of books, table, or chair can serve as a make-shift stabilizer so images of the apartment come out looking clear, level, and attractive.
This is one of the main reasons many apartment marketing agencies hire a professional photographer to take photos of properties so that they can get high-quality photos and rent the units more quickly.
9 – Take Many, Many Photos!
Take as many photos as you’d like! Tenants want to see every room and part of the property they will be paying for, including shared community areas. Plan to include the following elements in your shoot:
- All bedrooms and bathrooms
- Dining room
- Kitchen
- Living Room
- Closets
- Balcony/Patio
- Laundry Room
- Basements
- Community Spaces, such as walkways and patio areas
The perk of taking extra photos is that you’ll have a lot more to choose from when editing them and sharing them to your site or social media. You don’t always know how a picture will turn out until it’s on your computer in front of you, so don’t hesitate to take extras.
10 – Highlight Your Curb Appeal
Don’t forget to show your apartments’ exterior some love! Your renters want to be able to see more than just your complex map and they are interested in photos of the exterior areas just as much as they’re interested in the interior. If you have a rooftop deck, courtyard, or parking spaces you’d like to show off, make sure you include those. Unique elements create more interest in your listing.
Begin by utilizing natural light to highlight the outside characteristics. A bright and sunny day helps highlight the property’s architectural characteristics, landscaping, and overall appeal, but can also create a lot of shadows. If you aren’t getting the clarity you want, remember what we said about shooting just after dawn or at dusk to get a more diffused, natural light.
Consider shooting from various perspectives to capture the front facade, the entrance, and any distinguishing features like a well-kept garden or an attractive porch. You can attract the attention of potential tenants or buyers and make a good first impression by emphasizing the curb appeal of your rental property.
11 – Edit Carefully
After you’re done taking all the shots you’d like, review your photos carefully. Go ahead and delete any dark/blurry photos, flash reflections in mirrors, clutter, or photographers caught in a mirror. You’ll then be ready to move on to editing!
Using a smartphone makes this a breeze. Photo editing apps can be a lifesaver! Adobe Photoshop Express, Camera+ 2, Darkroom – Photo Editor, and Polarr Photo Editor all provide tools that can help enhance your shots.
If you’re using a mirrorless or DSLR camera there are just as many software options for editing. Try Adobe Photoshop and/or Lightroom!
Focus mainly on cropping for size and adjusting the brightness. Lighter photos are more cheerful and easier to see.
After editing, you’ll be ready to upload your photos wherever you need them. As they make their way onto your property’s site and beyond, make sure that your photos are uploaded upright; rotate, if needed.
12 – Hire a Professional

Need some assistance? Don’t be afraid to call in some help! A professional photographer can work serious magic on your property and get you the best quality photos. You’ll also save yourself any apprehension you may have regarding the editing process, as they’ve been trained with the know-how to make an ordinary photo extraordinary.
With these tips in mind, it’s time to set off and take some fancy snapshots of your own! And if you need our help, we’re right here.
Related posts:


Categorised in: Apartment Marketing, Market Apartments Services
This post was written by Chandra Lloyd
Chandra Lloyd is a writer for Market Apts with a focus on SEO copywriting and digital marketing for multifamily housing.